

She's back! The Princess (We call her this because when anyone asks her name she says "Princess Jasmine") is sick and staying with me this week. So I thought I should dedicate my posts this week to projects we've done to keep her busy while she's here. Today I'm going to show you one of her favorites. I must admit it's one of mine too. We find ourselves playing Legos a lot when she's here! I know the Lego creations on the table make her look like a genius! I must admit they are Dan's creations. He is the true Legomaniac!
Being that my kids are grown and I like the fact that my house doesn't have to be littered with toys, I wanted something that would store all of her legos but could also be put away in her toy closet. That is where she keeps all her toys and how I keep my house looking toy free.
Below are two posts that helped give me the idea to make the Play Mat. The Drawstring Lego Mat I found on Lesley's Blog Finding Time and the Lego Table on Our Wee Family.
 |
| Drawstring Lego Mat |
 |
| Lego Table |
Next, I went to my stash of acrylic paints and chose my colors. You can tell I didn't want to make any trips to the store by the color of my pond in the middle. I didn't have a light blue so I mixed dark blue with white. As you can see the result was not a vibrant blue!
Once everything was painted and dry I started working on the pockets. I cut 4 strips of fabric the length of the mat and the depth I wanted. I sewed the mat and one strip of fabric right sides together, wrong sides facing up. Then, I flipped it over to the right side and attached a piece of velcro the length of the mat on the unpainted strip.

Next, take a second strip of fabric, fold over the edge and hem it. Along that hem on the wrong side attach the other side of your velcro.
Laying your mat on the wrong side, place the second piece of fabric on top of the 1st with the velcro facing up. Now sew along all three outside edges of the fabric.

Turn your pocket right side out. Attach velcro together and iron out your seam. Repeat the process on the opposite side of the mat. Then hem the two sides of the mat that do not have pockets. You can add pockets on all 4 sides if you would like (Something I plan to do to mine in the future).

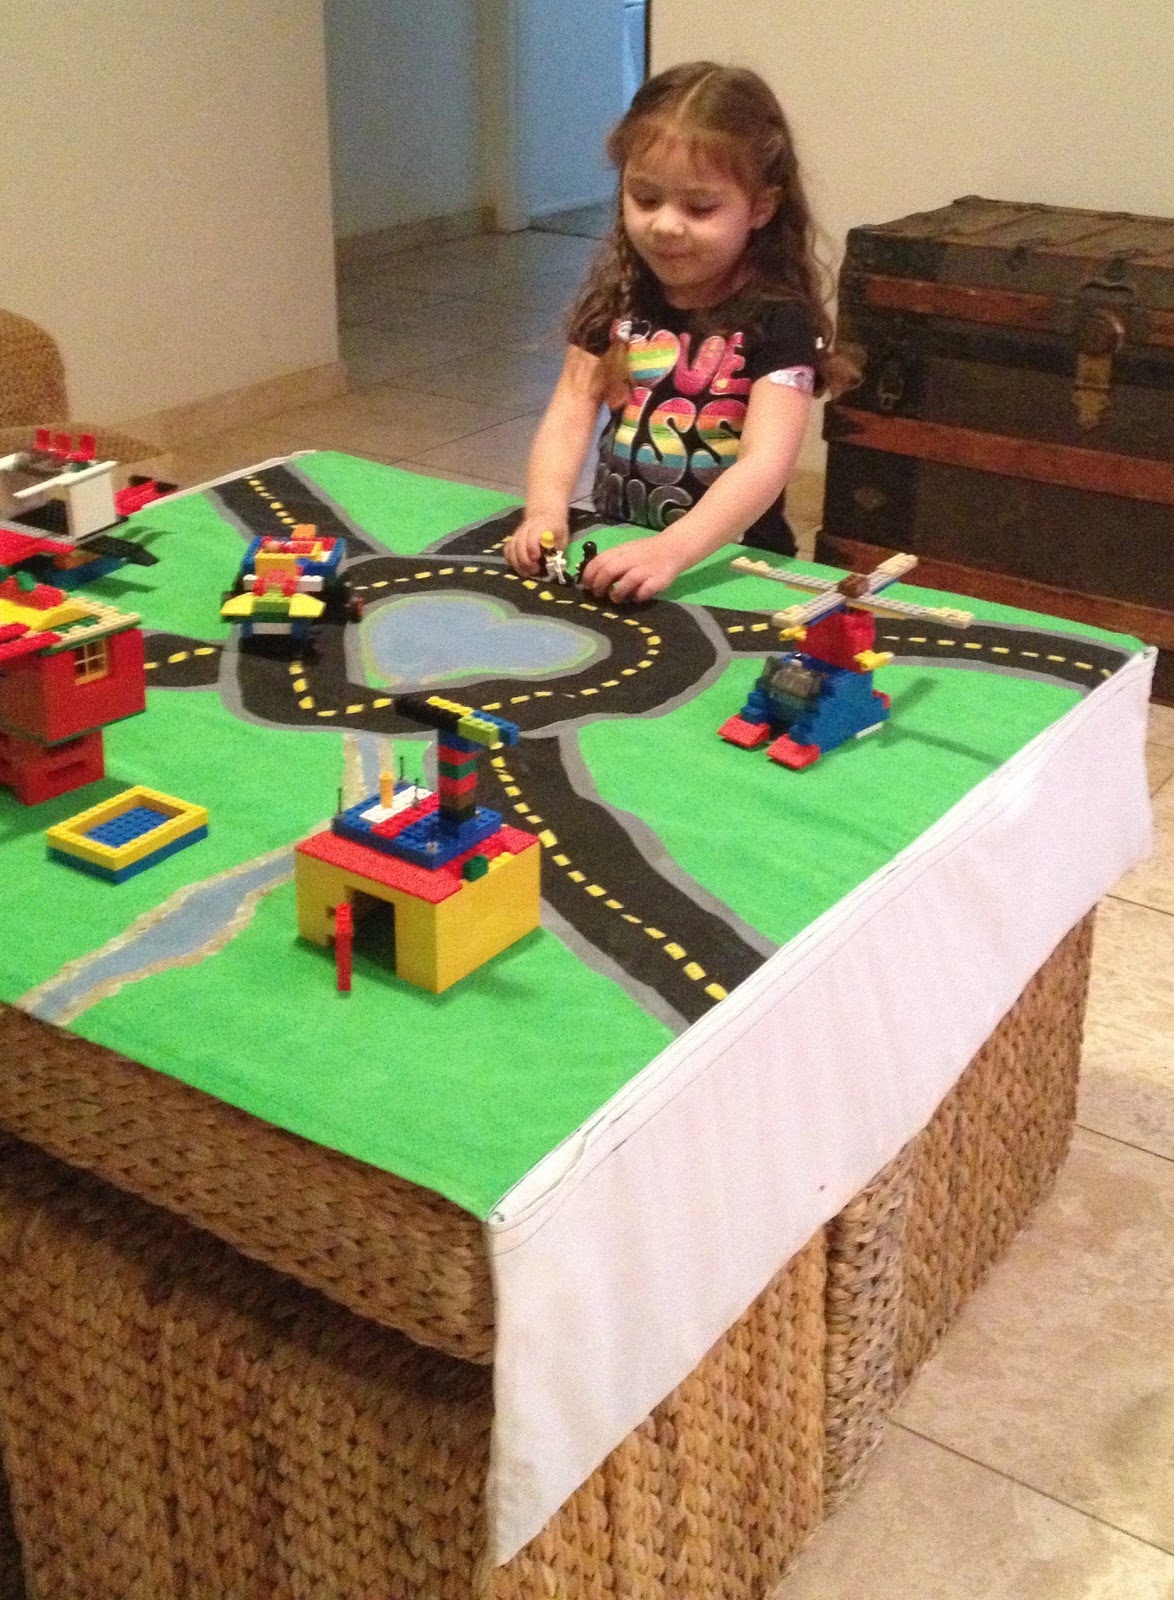
I placed the finished product on my coffee table and the Princess was ready to play. The best part of this project is the easy clean up after playing. We just scoot all of the pieces into the pockets. Velcro them closed. Roll up the whole thing (should have added straps to keep it closed and handles) and into the toy closet it goes!
Stay tuned for more kids/kid at heart projects this week!
Enjoy,
Mel
No comments:
Post a Comment